User Guide - Titan Antivirus - Powered By Ciscо Talоs
Introduction
Scanning
Quarantine
Scheduling Scans
Settings
System Requirements
Support
System Information
Registration
Introduction
The product allows you to scan for potential infections of malware, trojans, potentially unwanted applications (PUAs), and other kinds of infections.
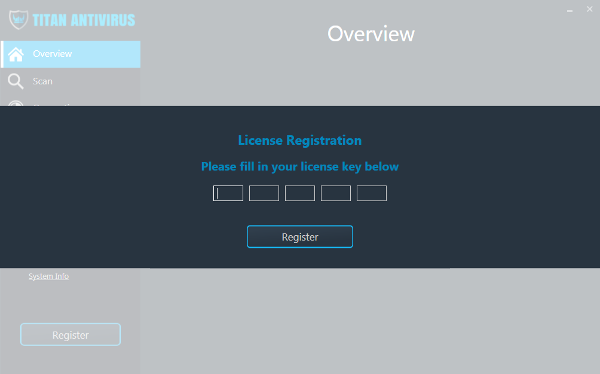
For your first time using Titan Antivirus, it will present you with a registration screen. We will issue you a registration key.
Once you have registered, you will see the Overview screen where you will see a status of your last scan and can also start a new scan. If you have never scanned your computer before, then you can click the Scan Now button to begin.
Scanning
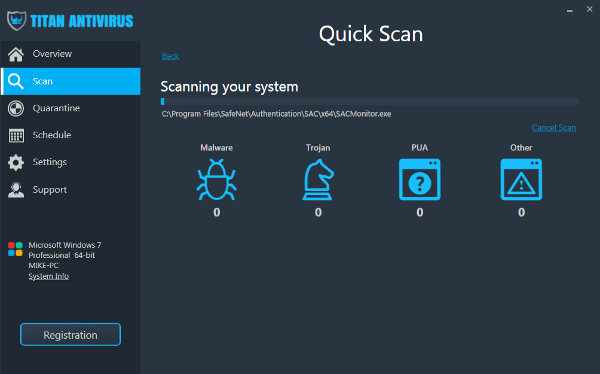
When you elect to do a scan, you will see the percentage progress of your scan, along with each category and a count of entries found. You can click Cancel at any time to cancel this scan.
Titan Antivirus scans for these potential infections:
Malware - Scripts or software designed to damage a computer, server, or computer network.
Trojans - Disguised scripts or software which mislead users of their true, harmful intent.
Potential Unwanted Applications (PUAs, PUPs) - Software that is not malware or a trojan but which may be annoying in nature, usually to drive a purchase of software or a service, and sometimes can come bundled with free software.
Other - Any script or software that is infection-related but not malware, a trojan, or PUA.
This product allows for unlimited infection scans and quarantines.
You can scan in two ways: either manually by using the application, or through the scheduled scans. When you choose to scan manually, you will be prompted whether you want to do one of the following scan types:
Quick Scan - This scan looks in most typical locations and file extension types commonly used by most malicious software, and runs much faster than the Full Scan, often around 15 minutes or less.
Full Scan - This scans all file extensions and all folders, and usually takes a few hours to run.
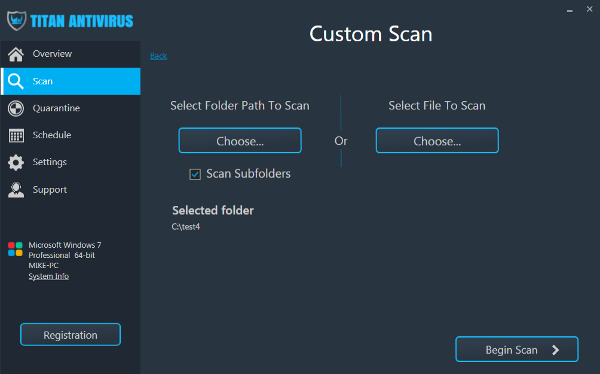
Custom Scan - This scan allows you to select a folder or file and just scan that.
When you click Scan from the sidebar menu or from the Scan Now button on the Overview screen, you will see these choices.
This is an example of a custom scan, where we selected a folder to scan.
As the scan runs, you will see the progress as well as the category counts of what it found.
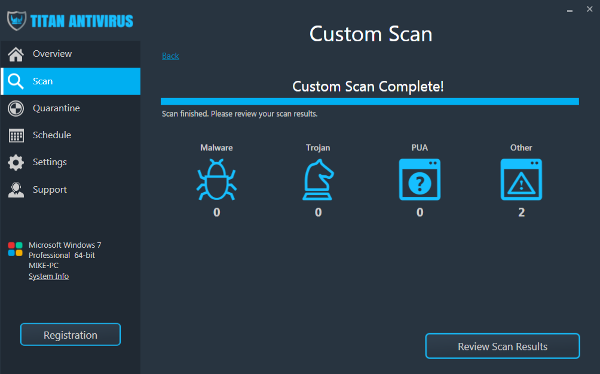
Once your scan is completed, you will see an indication of this and a button to click for resolving potential infections.
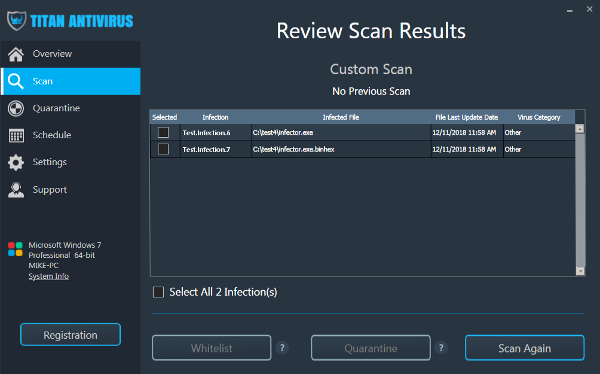
Clicking the Review Scan Results button allows you to review the results of your scan. From this, you can select items and choose to do the following tasks with them:
Whitelist - Whitelisting marks the file so that it will no longer be flagged in future scans. Unfortunately, false positives do sometimes occur and so whitelisting is a useful feature to handle this.
Quarantine - Quarantine allows you to move that file into a safe place and render the file inert so that it cannot harm your computer any further. Once in Quarantine, you can take even further actions with the file.
Quarantine
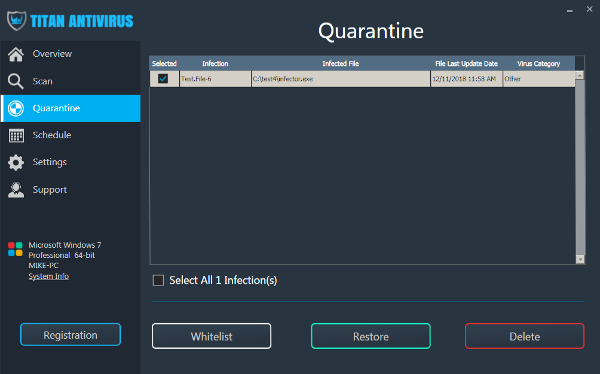
After you have chosen files from your scan results to quarantine them, you can click the Quarantine in the sidebar to deal with these files further.
The options you have with your quarantined files are:
Whitelist - You may whitelist a file so that it is removed from quarantine, restored to its original state and location, and be flagged so that it will no longer appear in your scan as an infection.
Restore - Restore allows you to remove a file out of quarantine and restore it to its original state and location.
Delete - You can delete the file. Note: this deletion is permanent.
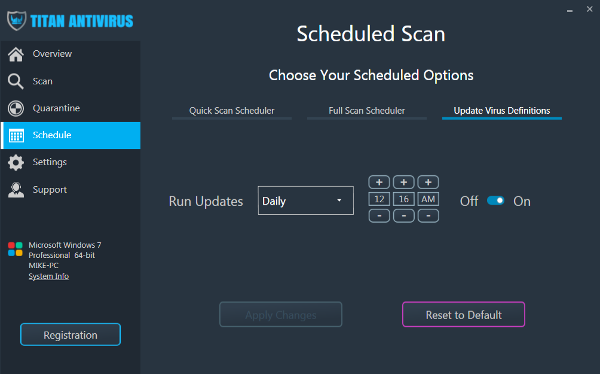
Scheduling Scans
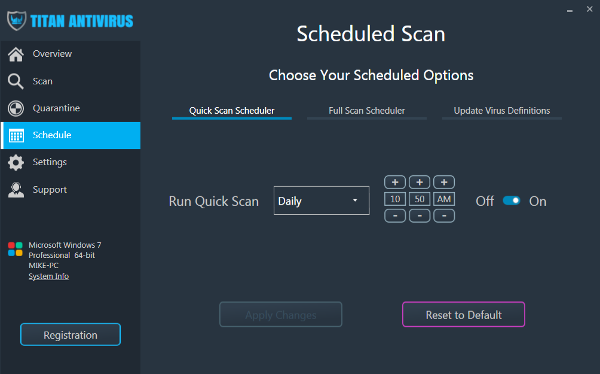
When you choose Schedule from the sidebar menu, you have the option to change the schedules of:
Quick Scan - Typically a daily short scan, often under 15 minutes, that looks for the most usual infection directories and file types.
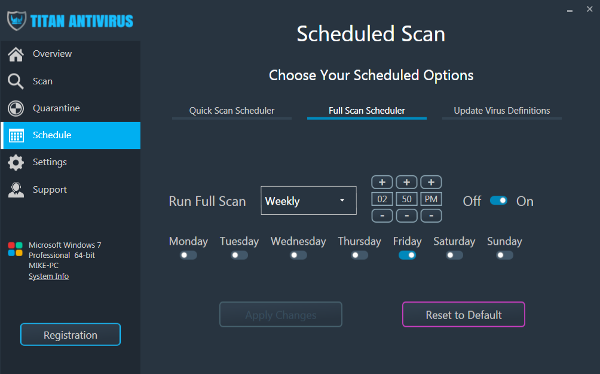
Full Scan - Typically a weekly deep scan, often over 3 hours, that looks in all folders and all file types.
Virus Definition Updates - Typically a short daily download of newly found virus infection definitions.
Quick Scan Schedule
Full Scan Schedule
Virus Definition Updates Schedule
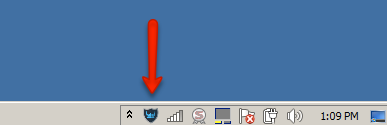
The Scheduled Scanning Process
When you set a scheduled scan to run, it will appear in your Windows systray (aka system notification area).
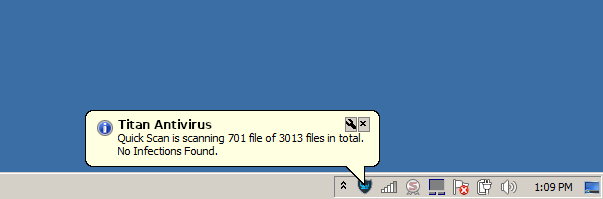
The options you have with it are to click it once to see the status, or rightclick it and choose either Status or Quit. If you choose Quit, it cancels the scan once until the next schedule iteration time.
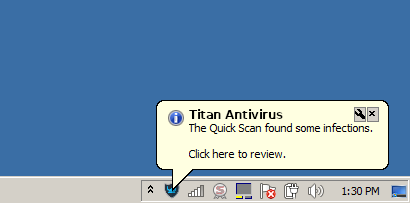
This scan will be as unobtrusive as possible unless an infection is found. If it is found, then you will see a popup warning balloon notification about this and allow you to click the notification to deal with it.
When an infection is found and you click the notification about this, then you will be taken to the application's scan results screen where you can take actions about this.
Important Notes
There are a few things to note, however:
No schedule is permitted to interrupt another schedule. If you set the settings such that one scan engages while another scheduled scan is running, then it will cancel the scan that tried to interrupt and attempt to scan again on its next scheduled iteration. So, it's a good idea to set your Quick and Full Scan times in different times, and to take into account that a Full Scan can often take around 4 hours or more.
Use of the application during a scheduled scan causes the scheduled scan to abort. If you open the application during a scheduled scan, the scheduled scan will abort automatically and will run again on its next chosen scheduled iteration.
The virus definition updates have no user interface. When the virus definition updates run, they run silently in the background with no user interface (no popups, icons, or windows will appear) because it does not need this.
Settings
On the main menu of tabs on the left in the application, you can click Settings to see your current settings of the application and have the option to change these.
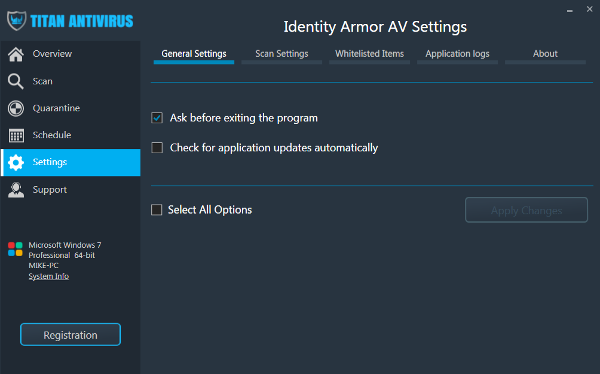
General Settings
Under the sub-tab of General Settings, you can change the following things:
Ask before exiting the program Allows you to turn off the Are You Sure? prompt before closing the antivirus application.
Check for application updates automatically Allows you to toggle whether to check for updates to the application. This is different than virus definition updates.
However, be sure to click the Apply Changes button to save these changes.
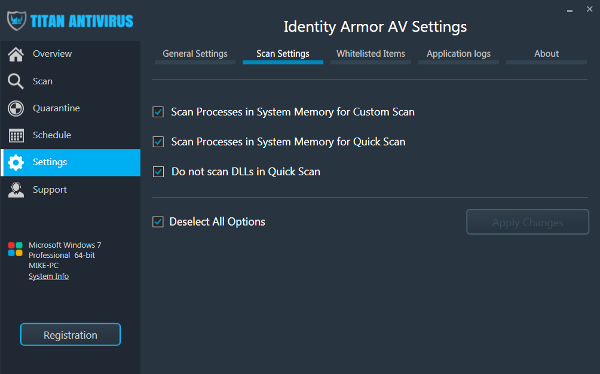
Scan Settings
Under the sub-tab of Scan Settings, you can change the following things:
Scan Processes in System Memory for Custom Scan Allows you to start your Custom Scan by checking processes in memory, before scanning your selected file or folder.
Scan Processes in System Memory for Quick Scan Allows you to start your Quick Scan by checking processes in memory.
Do Not Scan DLLs in Quick Scan Allows you to toggle whether or not to scan DLL files during a Quick Scan. Turning this option off can often make the Quick Scan run much faster.
Whitelisted Items
Under the sub-tab of Whitelisted Items, you can see files that you have elected to whitelist. You may then add or remove items from this list. Whitelisted items will no longer be tracked by any scan.
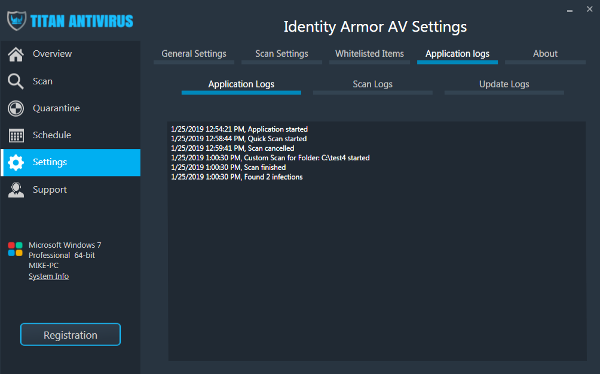
Application Logs
Under the sub-tab of Application Logs, you can get detailed information about your most recent scans.
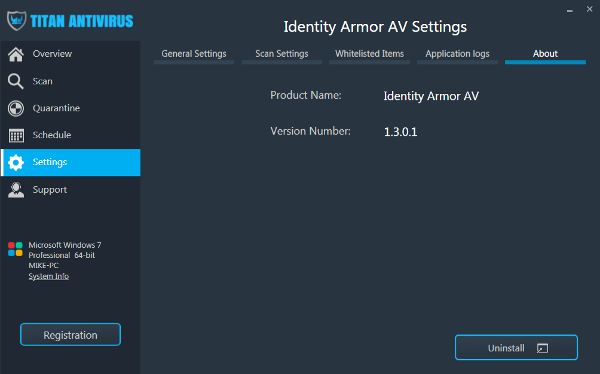
About
Under the sub-tab of About, you can see the application version information as well as click a button to understand how to uninstall the application.
Minimum System Requirements
Operating System
Windows 10 (32-bit or 64-bit)
Windows 8.1 (32-bit or 64-bit)
Windows 8 (32-bit or 64-bit)
Windows 7 (32-bit or 64-bit) Service Pack 1 or higher with the latest updates, hotfixes and service packs installed
CPU
Intel Pentium 4 | AMD Athlon 64 Processor or faster
RAM
2 GB of RAM or more
Disk Space
Minimum of 2 GB of Free Disk Space (additional space for temporary and quarantine files needed)
Browser
Internet Explorer 8 or later
Additional Requirements
To install, you’ll need administrator rights, an internet connection and a web browser.
For automatic updates of virus signatures and build improvements, you’ll need an
internet connection.
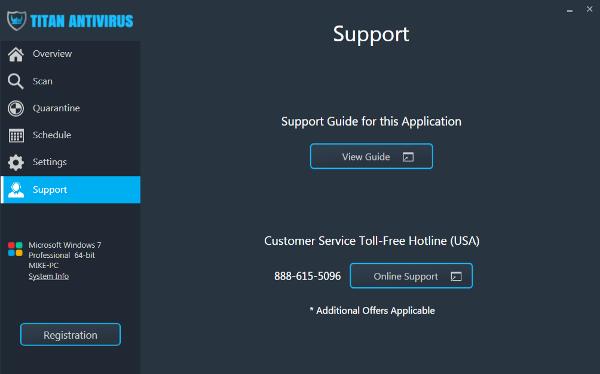
Support
The support tab allows you to get product support for this product by viewing this Guide or by contacting our Support Department.
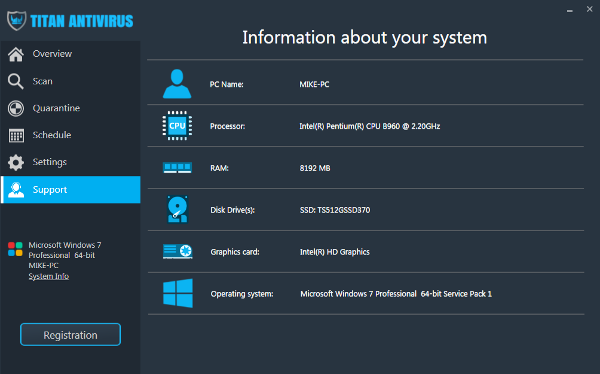
System Information
On the sidebar is a handy area above the product registration button where you can see some limited information about your computer, which is often useful in tech support cases. Clicking the System Info link opens a screen where you can see more detail about this.
You can't change these settings. However, these settings are often useful to know in tech support cases.
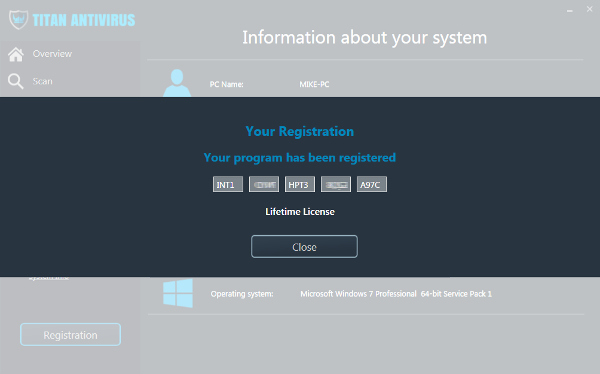
Registration
To use this product, it must be registered. A license key will be issued to you and a technician will help you install this software. This software cannot be used without a license key.
Once the product is registered, you can click the Registration link to see your license key, which can sometimes be used to troubleshoot problems with our tech support.